what’s left when the tide ebbs?
Process notes on a layered acrylic light piece.
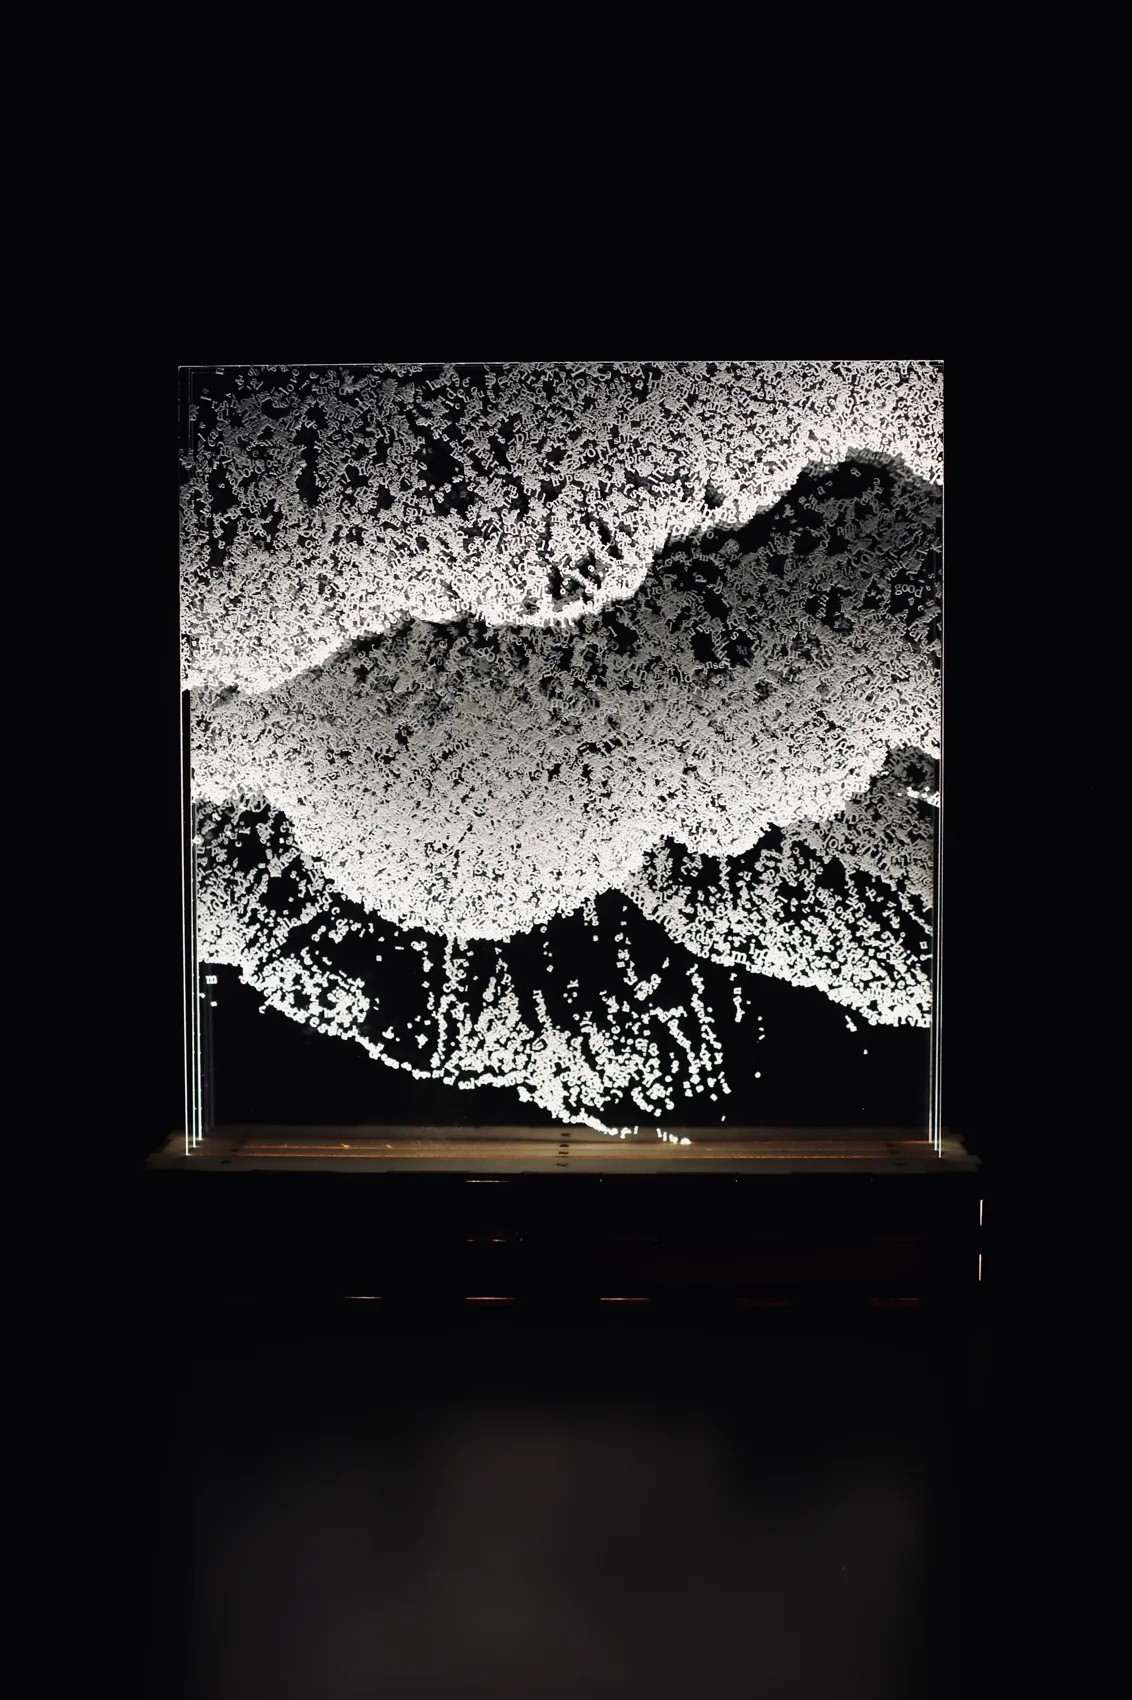
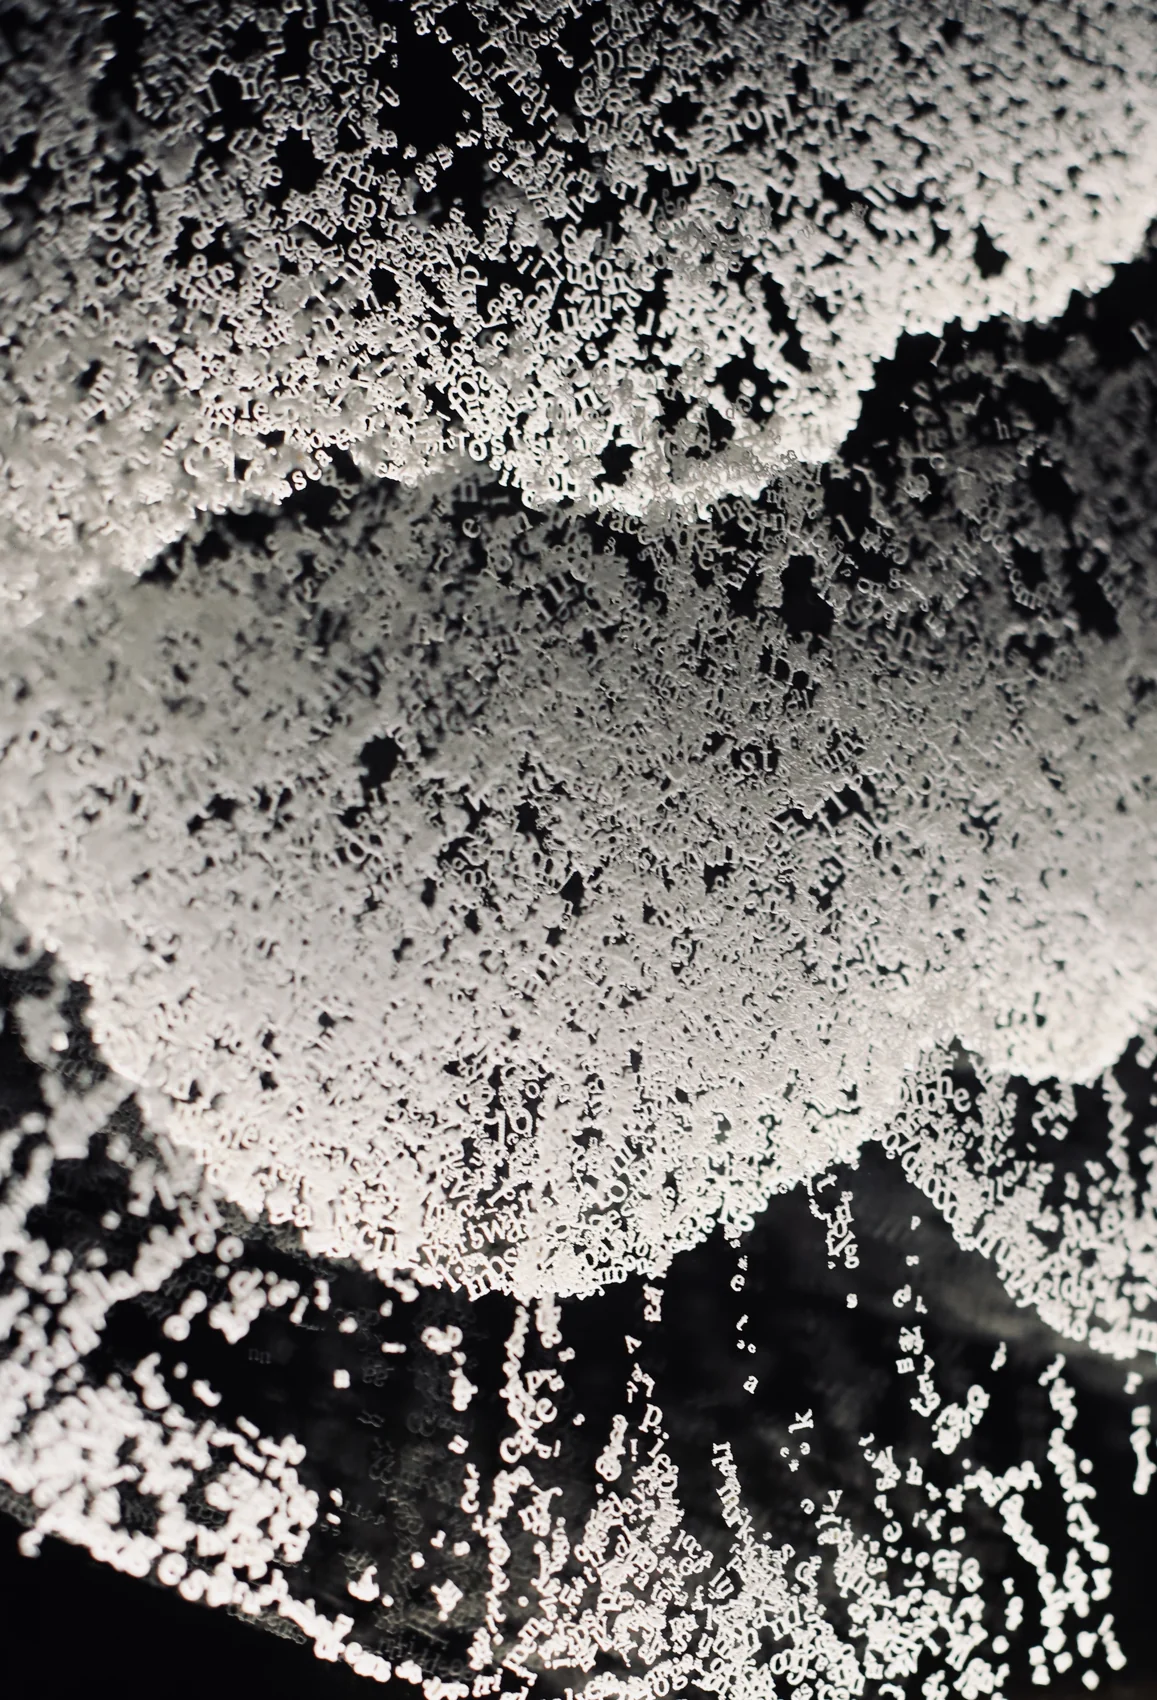
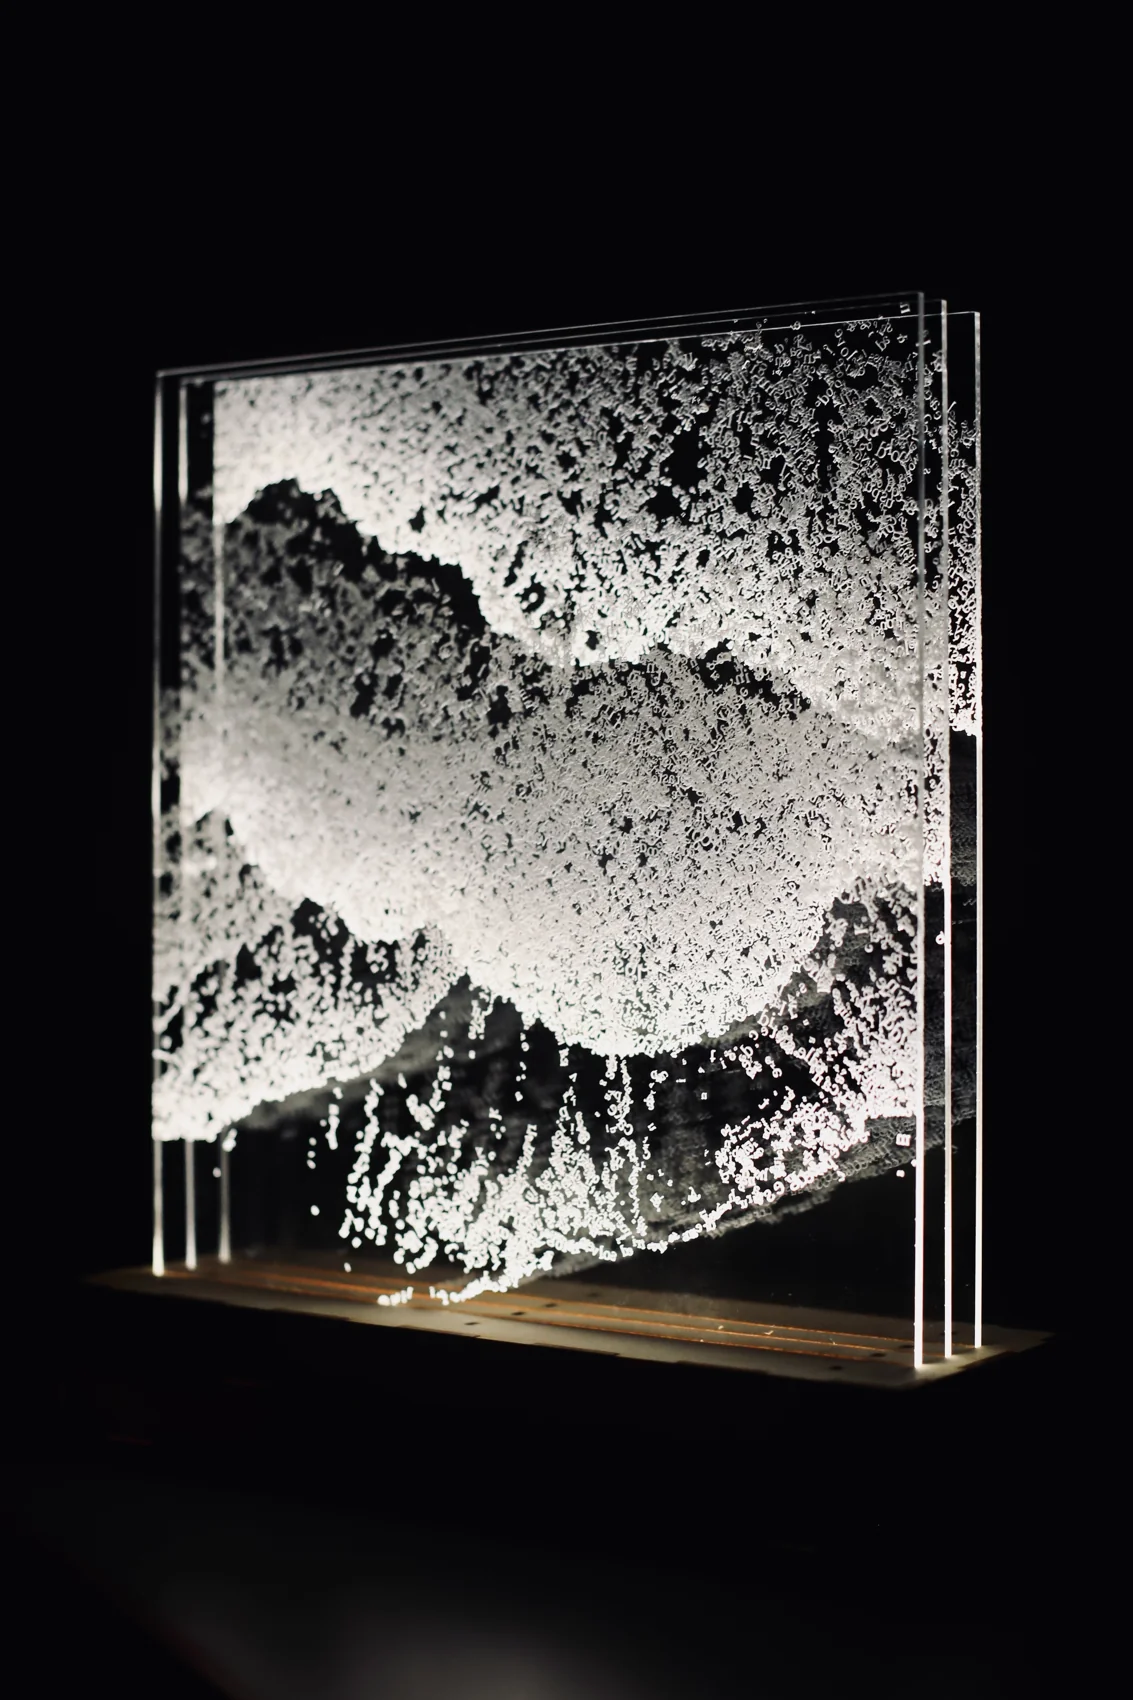
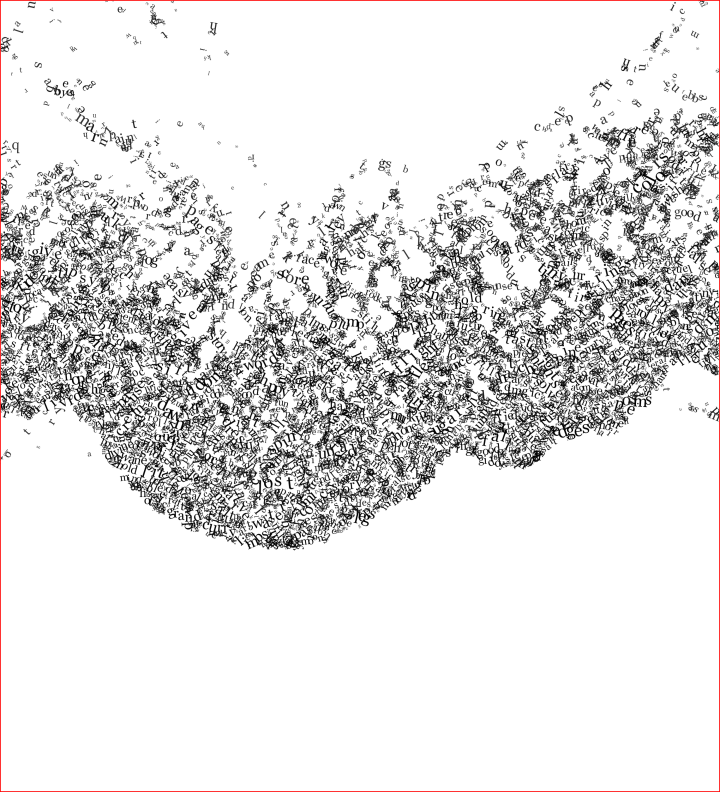
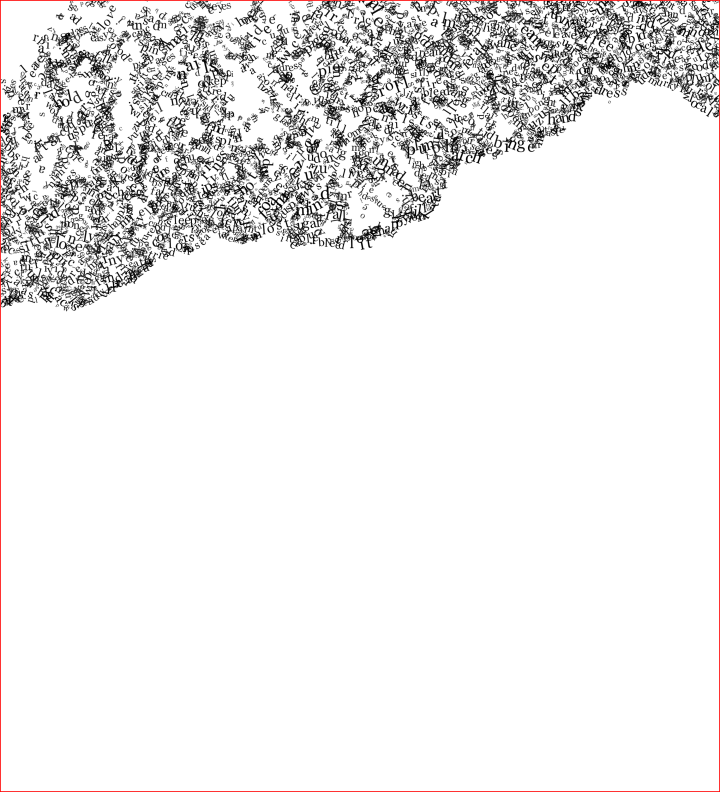
Letters gather into waves across three layers of acrylic, illuminated from below.
The base
The 279.4 × 95 × 45 mm base is made from 3 mm plywood. Three 10 × 11 inch sheets of 3 mm acrylic, spaced 16 mm center to center, insert 15 mm into the base.
The battery compartment has 19 mm of vertical clearance—about 6 mm above a ½-inch-thick battery. The design accommodates 8 mm-wide LED strips lying flat on the middle slab, with wires routed through the corner cutouts. The joints fit together without glue.
Loading the assembly…
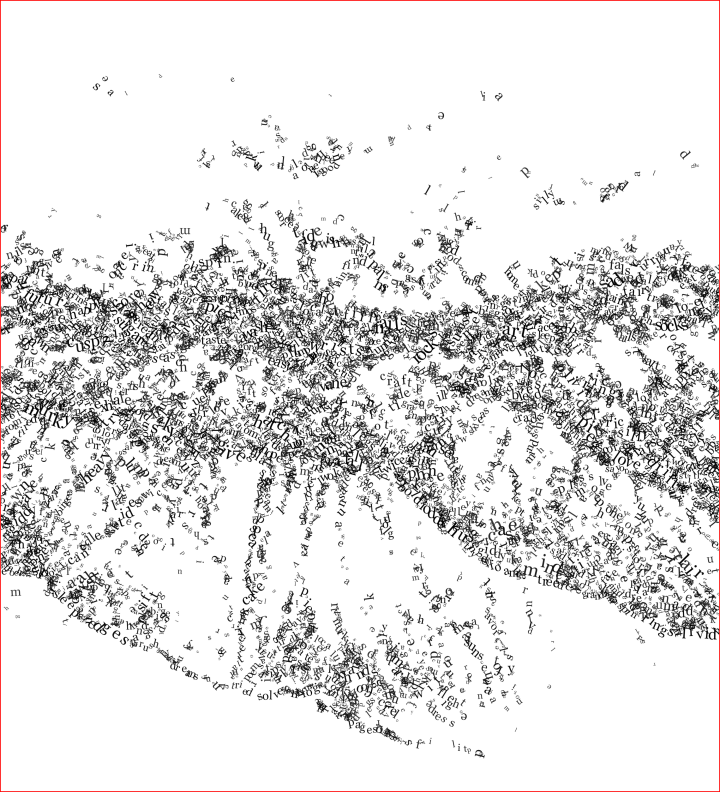
Making files
Acrylic
3 pages · 10 × 11 in each
Plywood
19 pieces · 457.95 × 285.4 mm

Clearance adjustments below are total differences, not per-side offsets: negative is tighter; positive is looser.
- Teeth (corners, lid, and bottom): −0.40 mm.
- Upright and middle-slab slots:
- −0.20 mm along the tab width.
- −0.40 mm across the nominal 3 mm plywood thickness.
- Acrylic slots: +0.05 mm relative to nominal 3 mm acrylic.
These adjustments are already included in the files. Fit depends on the material thickness, cutter, and focus. Test the joint fit and engraving and cutting settings on scrap material before running the full files.